From DVD: How to Setup and Shoot Awesome Interviews with LED Lights
Have a number of different lights to pick from.
Main goal is to control "spill".
#1 goal is depth -- separate the talent from the background.
Don't just take what is offered. Adjust things as needed
Get camera as far back as possible. 16 to 18 feet. Look at the background. Depth, enough room to shoot?
Put camera in corner of a small room, aiming to opposite corner.
Concider what will be in the background. Lights (windows, other
lights, what about after sun has moved)
Closer, then more of background will show.
Further, then less of background will show.
Lens can determine the distance to frame the shot.
Set camera to same height as the talent's eyes.
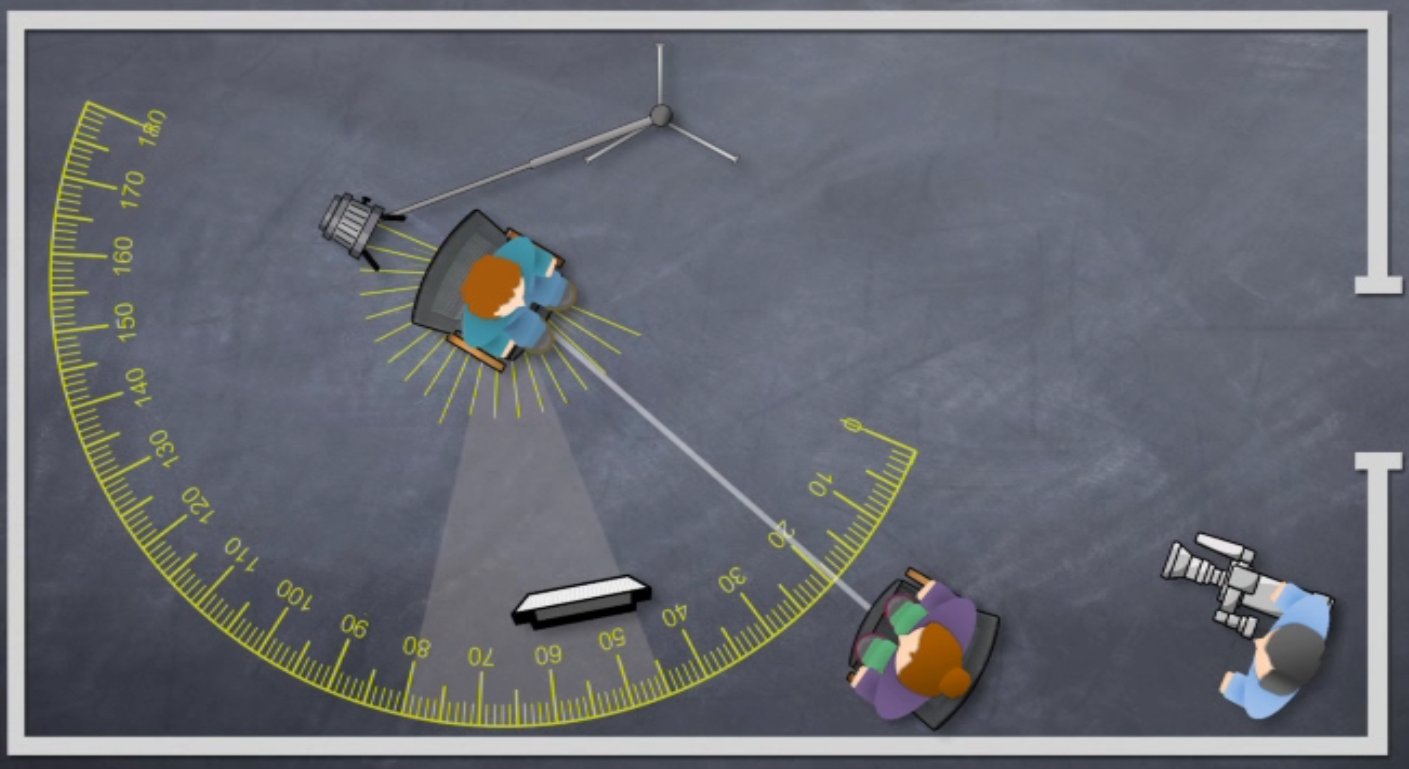
Interviewer should be no more than 20 degrees from the camera line.
Depth of field
Further back is better, then zooming in
Sensor size, bigger is better (more light)
Aperture of lens, bigger is better)
2:1 rule of thumb: Place the talent 2/3 of the distance from the camaera.. For example: if the back corner wall is 18 feet from the camera, place the talent 12 feet from the camera.
Sound (loud AC?)
Interruptions (visual and sounds)
Angle of lights to talent.
This a lighting setup for interviewing one person on camera. More people, more lights, especially key lights.

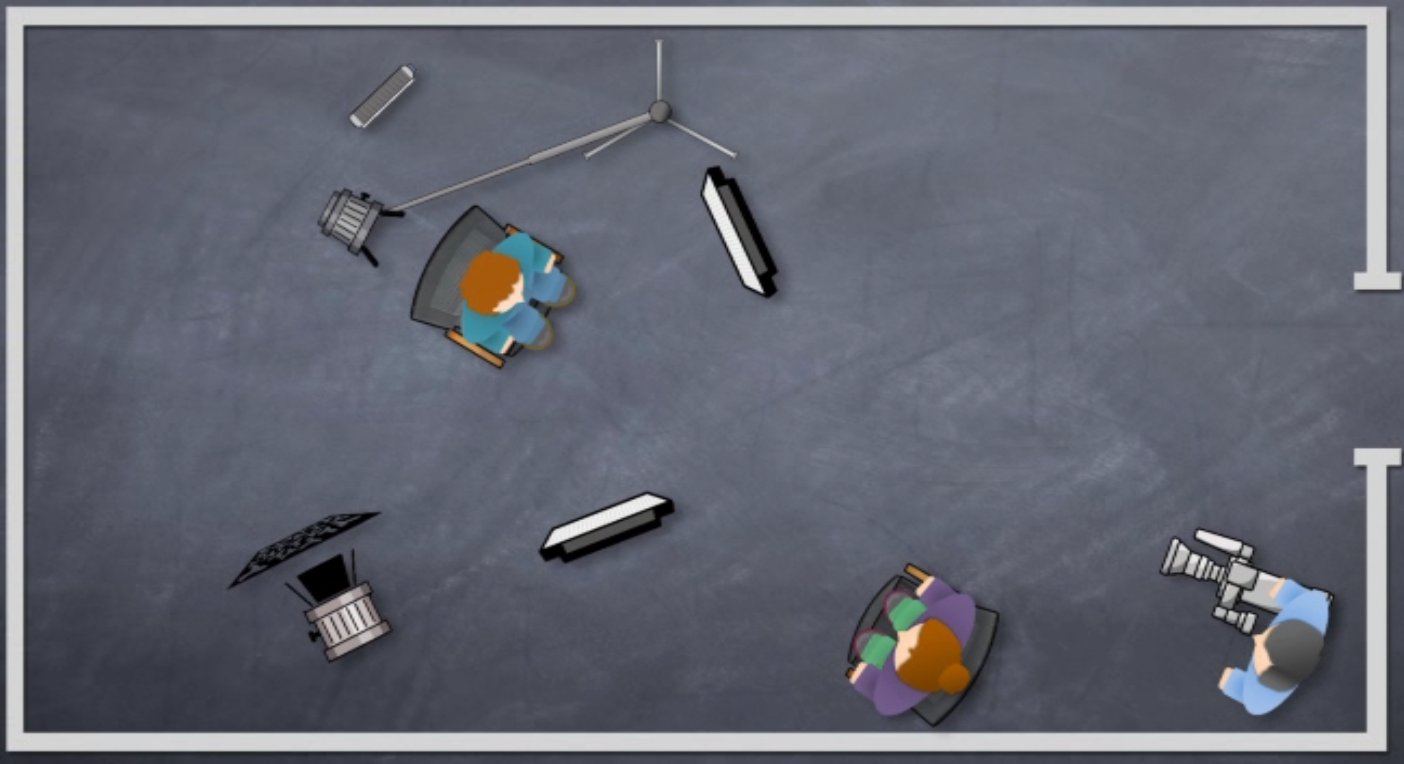
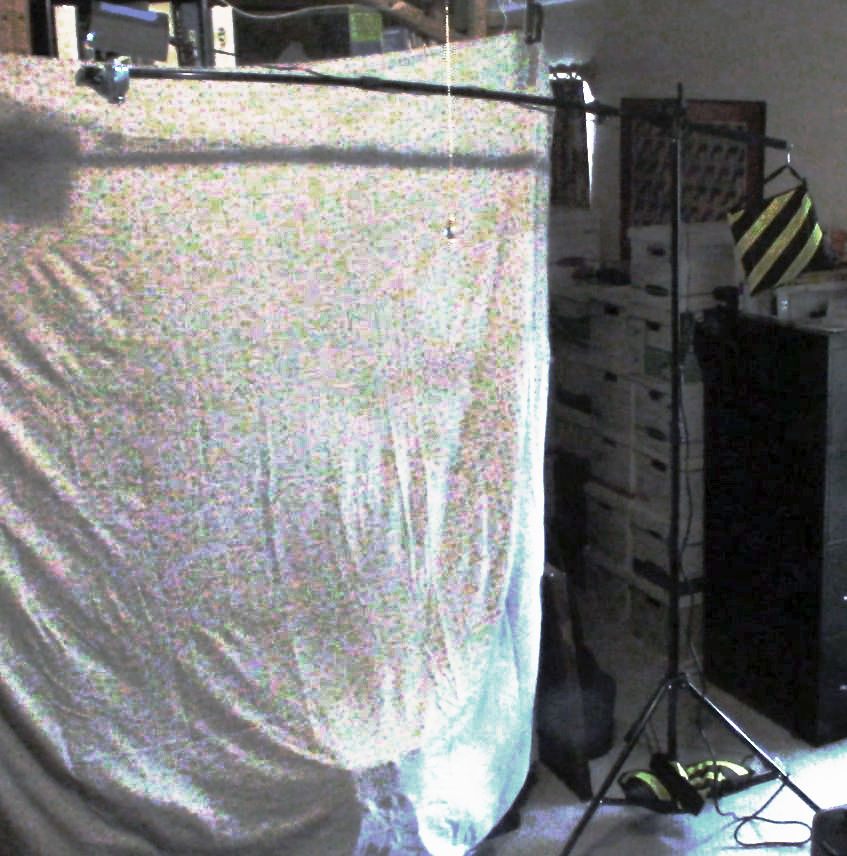
Place directly behind talent, in line with the camera. Use a boom stand.
Start with it 45 degrees up from the talent, then adjust.
Keep the ligt from hitting the camera. A Fresnel with barn doors can control that.
Example:
Place 45 to 80 degrees from the camera/talent axis.
Get light as close as possible. Maybe 4 feet from talent. Use the dimmer if it is too bright. Too far away--it can't be made brighter.
Goals: avoid lighting the background with the key light. Give nice shadows to the face, but not have half the face completely in shadow.
Mainly used to control the lighting of the other side of the face.
Having bi-col
Usually same height and distance as key light. Dim it to be less than the key light.
Angle, height, distance, how much dimmed, accessories in front of light.
On same side as fill light.
Set to light the back side of the face. Color it to look like there might be a lamp or window off to the side.
Fix up the background. I.e. props.
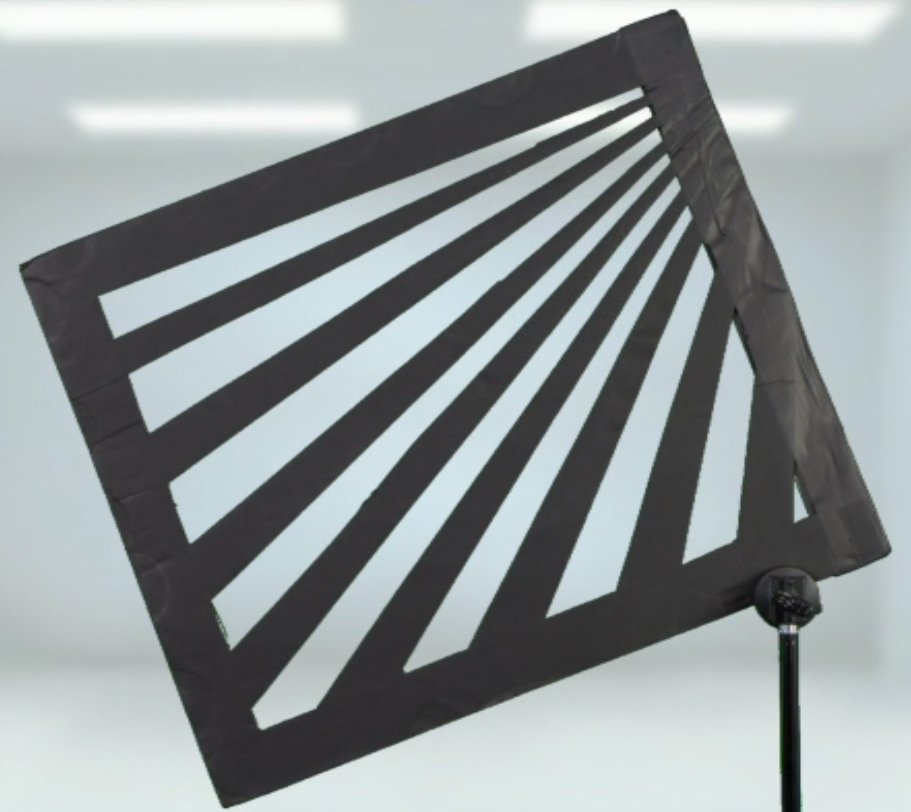
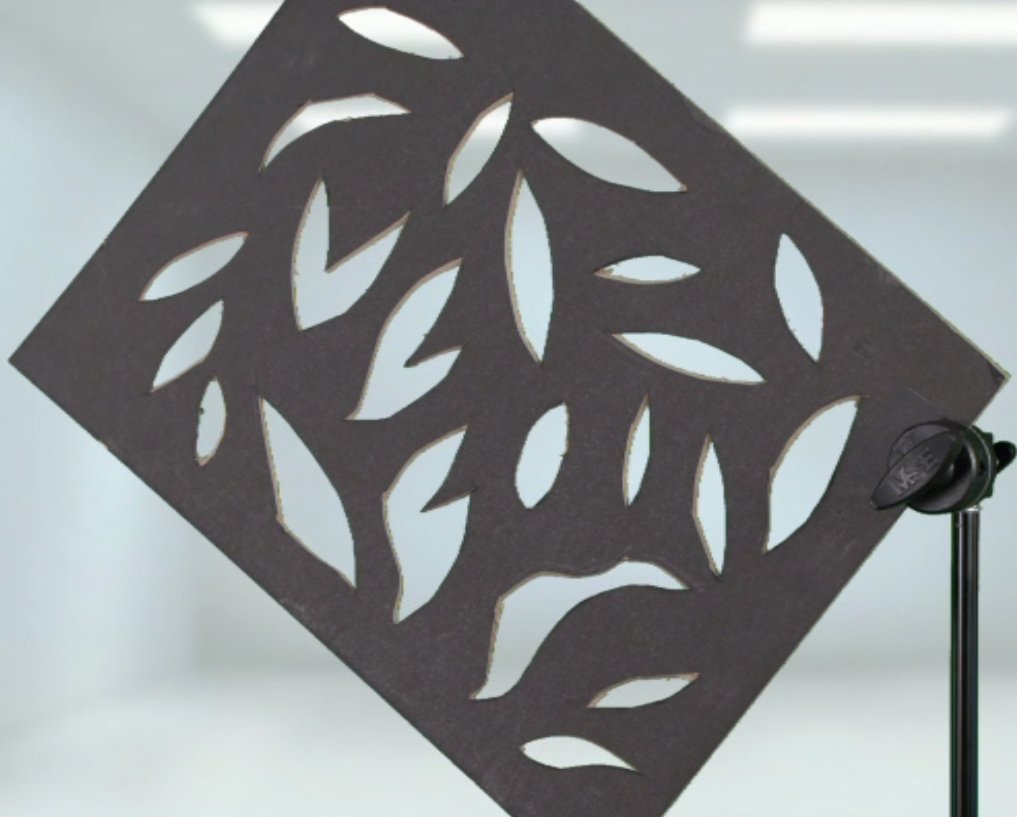
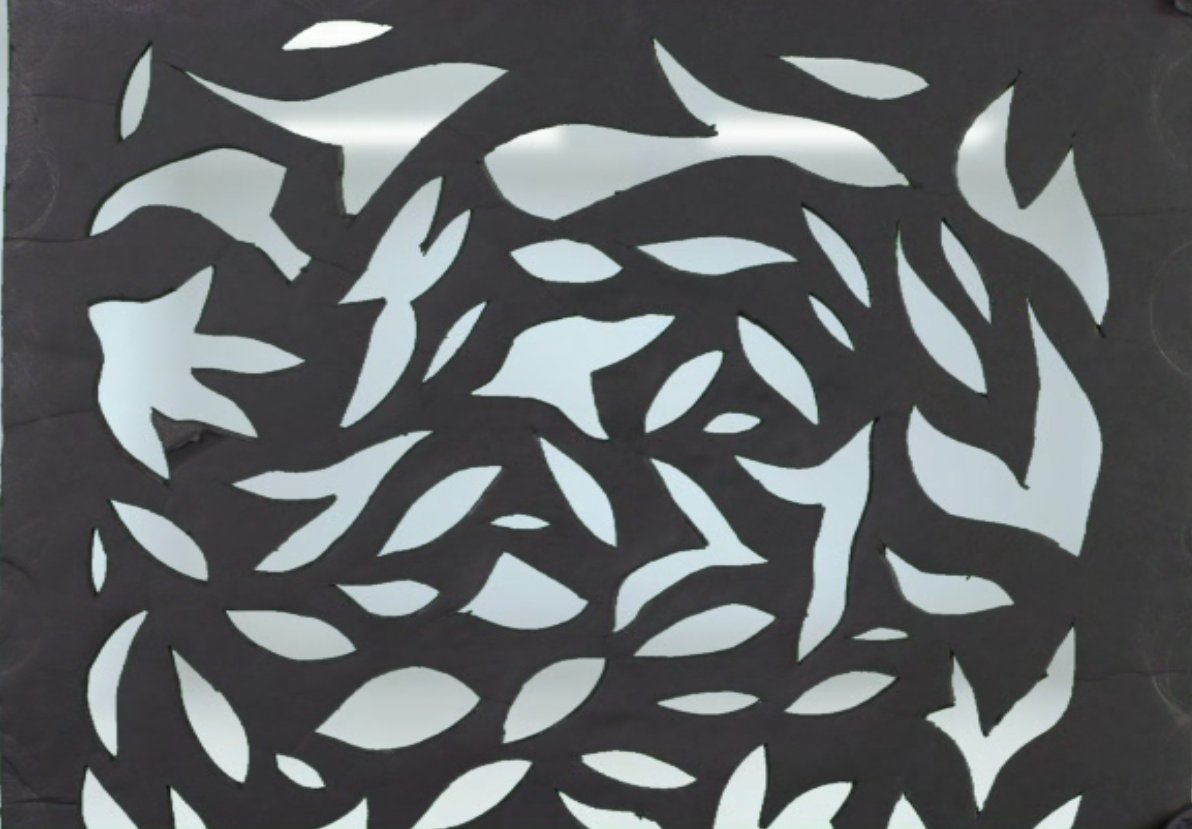
Create interesting shadows, with cutout patterns. These can be made with black foam board.
Using an aperture of F/2.0 to F/2.8 looks good.
One rule-of-thumb, set aperture one F stop less than wide open.
Set the exposure, using a Zebra, which is in most professional cameras.
$Source: /repo/local.cvs/app/video-studio/blocking/blocking.html,v $
$Revision: 1.2 $ $Date: 2017/07/19 16:28:06 $ GMT